
A few days ago, we set up Moodle in a minimalist configuration, using the server’s IP address with Nginx as the web server and PostgreSQL as the database.
To complete our installation, let’s configure a domain name as a virtual hostname on the server and also enable HTTPS with an SSL certificate from Let’s Encrypt. ☁️
Nginx #
To configure a domain name in Nginx, we need to check the http configuration in Nginx, specifically focusing on Virtual Host Configs. In Debian-based Linux distributions like Ubuntu, this includes mentioning both /etc/nginx/conf.d/*.conf; and include /etc/nginx/sites-enabled/*; in the nginx.conf file.
$ sudo vim /etc/nginx/nginx.conf
...
http {
...
        ##
        # Virtual Host Configs
        ##

        include /etc/nginx/conf.d/*.conf;
        include /etc/nginx/sites-enabled/*;
...
}
...
This means that the Nginx package includes directories such as /etc/nginx/sites-available and /etc/nginx/sites-enabled, where configurations in the sites-available directory are considered for all configurations, and those enabled are symlinked (usually with a soft link) into the sites-enabled directory.
$ ls -l /etc/nginx/sites-enabled/default
lrwxrwxrwx 1 root root 34 Apr 17 15:00 /etc/nginx/sites-enabled/default -> /etc/nginx/sites-available/default
If your Linux distribution does not have these directories, you can simply put the configurations in the /etc/nginx/conf.d/ directory with the .conf extension.
We’ll start by configuring our domain. In this example, we’ll use moodl.my.id for the domain, starting by copying the configuration from the default file.
$ sudo cp /etc/nginx/sites-available/default /etc/nginx/sites-available/moodl.my.id.conf

$ sudo vim /etc/nginx/sites-available/moodl.my.id.conf
server {
        listen 80;
        listen [::]:80;

        server_name moodl.my.id www.moodl.my.id;

        root /var/www/moodl.my.id;
        index index.php;

        location / {
                try_files $uri $uri/ =404;
        }

        location ~ [^/]\.php(/|$) {
                fastcgi_split_path_info  ^(.+\.php)(/.+)$;
                fastcgi_index            index.php;
                fastcgi_pass             unix:/run/php/php8.1-fpm.sock;
                include                  fastcgi_params;
                fastcgi_param   PATH_INFO       $fastcgi_path_info;
                fastcgi_param   SCRIPT_FILENAME $document_root$fastcgi_script_name;
        }
}

$ sudo ln -s /etc/nginx/sites-available/moodl.my.id.conf /etc/nginx/sites-enabled/moodl.my.id.conf
Please note that the root directory is set to /var/www/moodl.my.id. If you previously used /var/www/html/moodle, you should move or rename it with $ sudo mv /var/www/html/moodle /var/www/moodle.my.id. You can use any directory that suits your needs, as multiple directories can represent multiple domains on your server.
Now, reload or restart the Nginx service, and ensure that the domain name points to your server’s IP address.
The moment of truth.. 😂
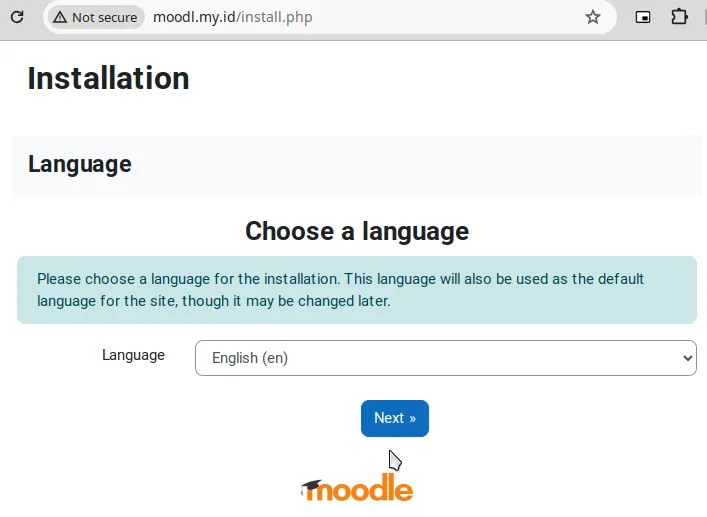
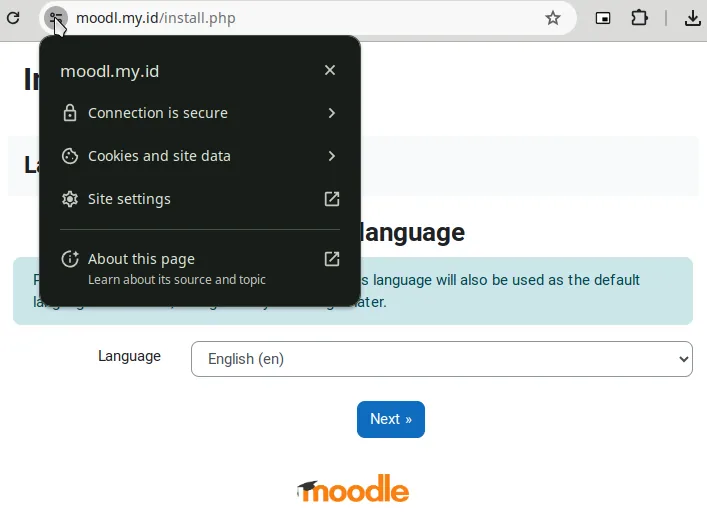
YES. The installation page shows up with the domain that we set up. One problem solved. However, as we can see, there’s a “Not secure” tag in the browser address bar, which will be our next target to address by installing the SSL certificate.
Certbot #
We’ll use the certbot 1 tool to install the SSL certificate. Depending on your current configuration, the easiest way is to use the Nginx plugin with certbot --nginx. However, if your server cannot be reached from the Internet (for example, with a local IP address under Network Address Translation or NAT), you may want to use DNS challenge with --preferred-challenges=dns, as you will need to provide a TXT DNS entry to validate your certificate.
For this example, let’s try manual authentication with -a manual (avoid using -a manual unless necessary, as it does not support auto-renewal) and the Nginx installer with -i nginx.
$ sudo apt install certbot python3-certbot-nginx
$ sudo certbot -a manual -i nginx --preferred-challenges=dns -d moodl.my.id -d www.moodl.my.id
Doneee! It’s time to use it to learn from Moodle Academy 🔥
PS.
The Nginx wiki 2 is a great resource to learn Nginx configuration and examples, even though it does not provide Moodle-specific configuration examples.
Check with the DNS Toolbox provided by Google Admin Toolbox 3 for DNS verification.